FableVision Learning Spotlight Blog
Categories
- Animation-ish 42
- Books 21
- Civics! 2
- Classroom Spotlight 17
- Conferences and Events 20
- Creative Educator 3
- Creativity 25
- Distance Learning 13
- Dot Day 22
- FabClassroom 28
- FabFriday 19
- FabMaker Studio 66
- FabMaker Studio Classroom 13
- FableFive 7
- FableVision Games 3
- Free Educator Resources 36
- HUTCH 1
- Home Activities 5
- In the Classroom 34
- In the News 11
- International Dot Day 23
- Ish 1
- Library 1
- Mapping the World by Heart 7
- Paul Reynolds 10
- Peter H. Reynolds 54
- Professional Development 9
- STEM/STEAM 20
- Storybook Academy 2
- Teacher Spotlight 14
- The Dot 17
- The North Star 2
- Words and Their Stories 1
- Zoombinis 3

Fab Lab Tulsa Pilots Early Elementary School Program Featuring Fab@School Maker Studio
The following blog post was written by the team at Fab Lab Tulsa about their Digital Fabrication pilot with early elementary school students.
At Fab Lab Tulsa, we’re used to working with digital design and fabrication tools. In fact, we consider ourselves to be experts at it, with over five years of experience teaching youth programs that target 5th through 9th graders. We’ve had some experience with younger students but we’ve wanted to find some way to get early learners engaged in the design process. After a ton of research we were able to locate the Fab@School Maker Studio platformer. We were super excited to pilot Fab@School Maker Studio to see if it could be used to expand our existing programs to students in the 1st to 3rd grades.

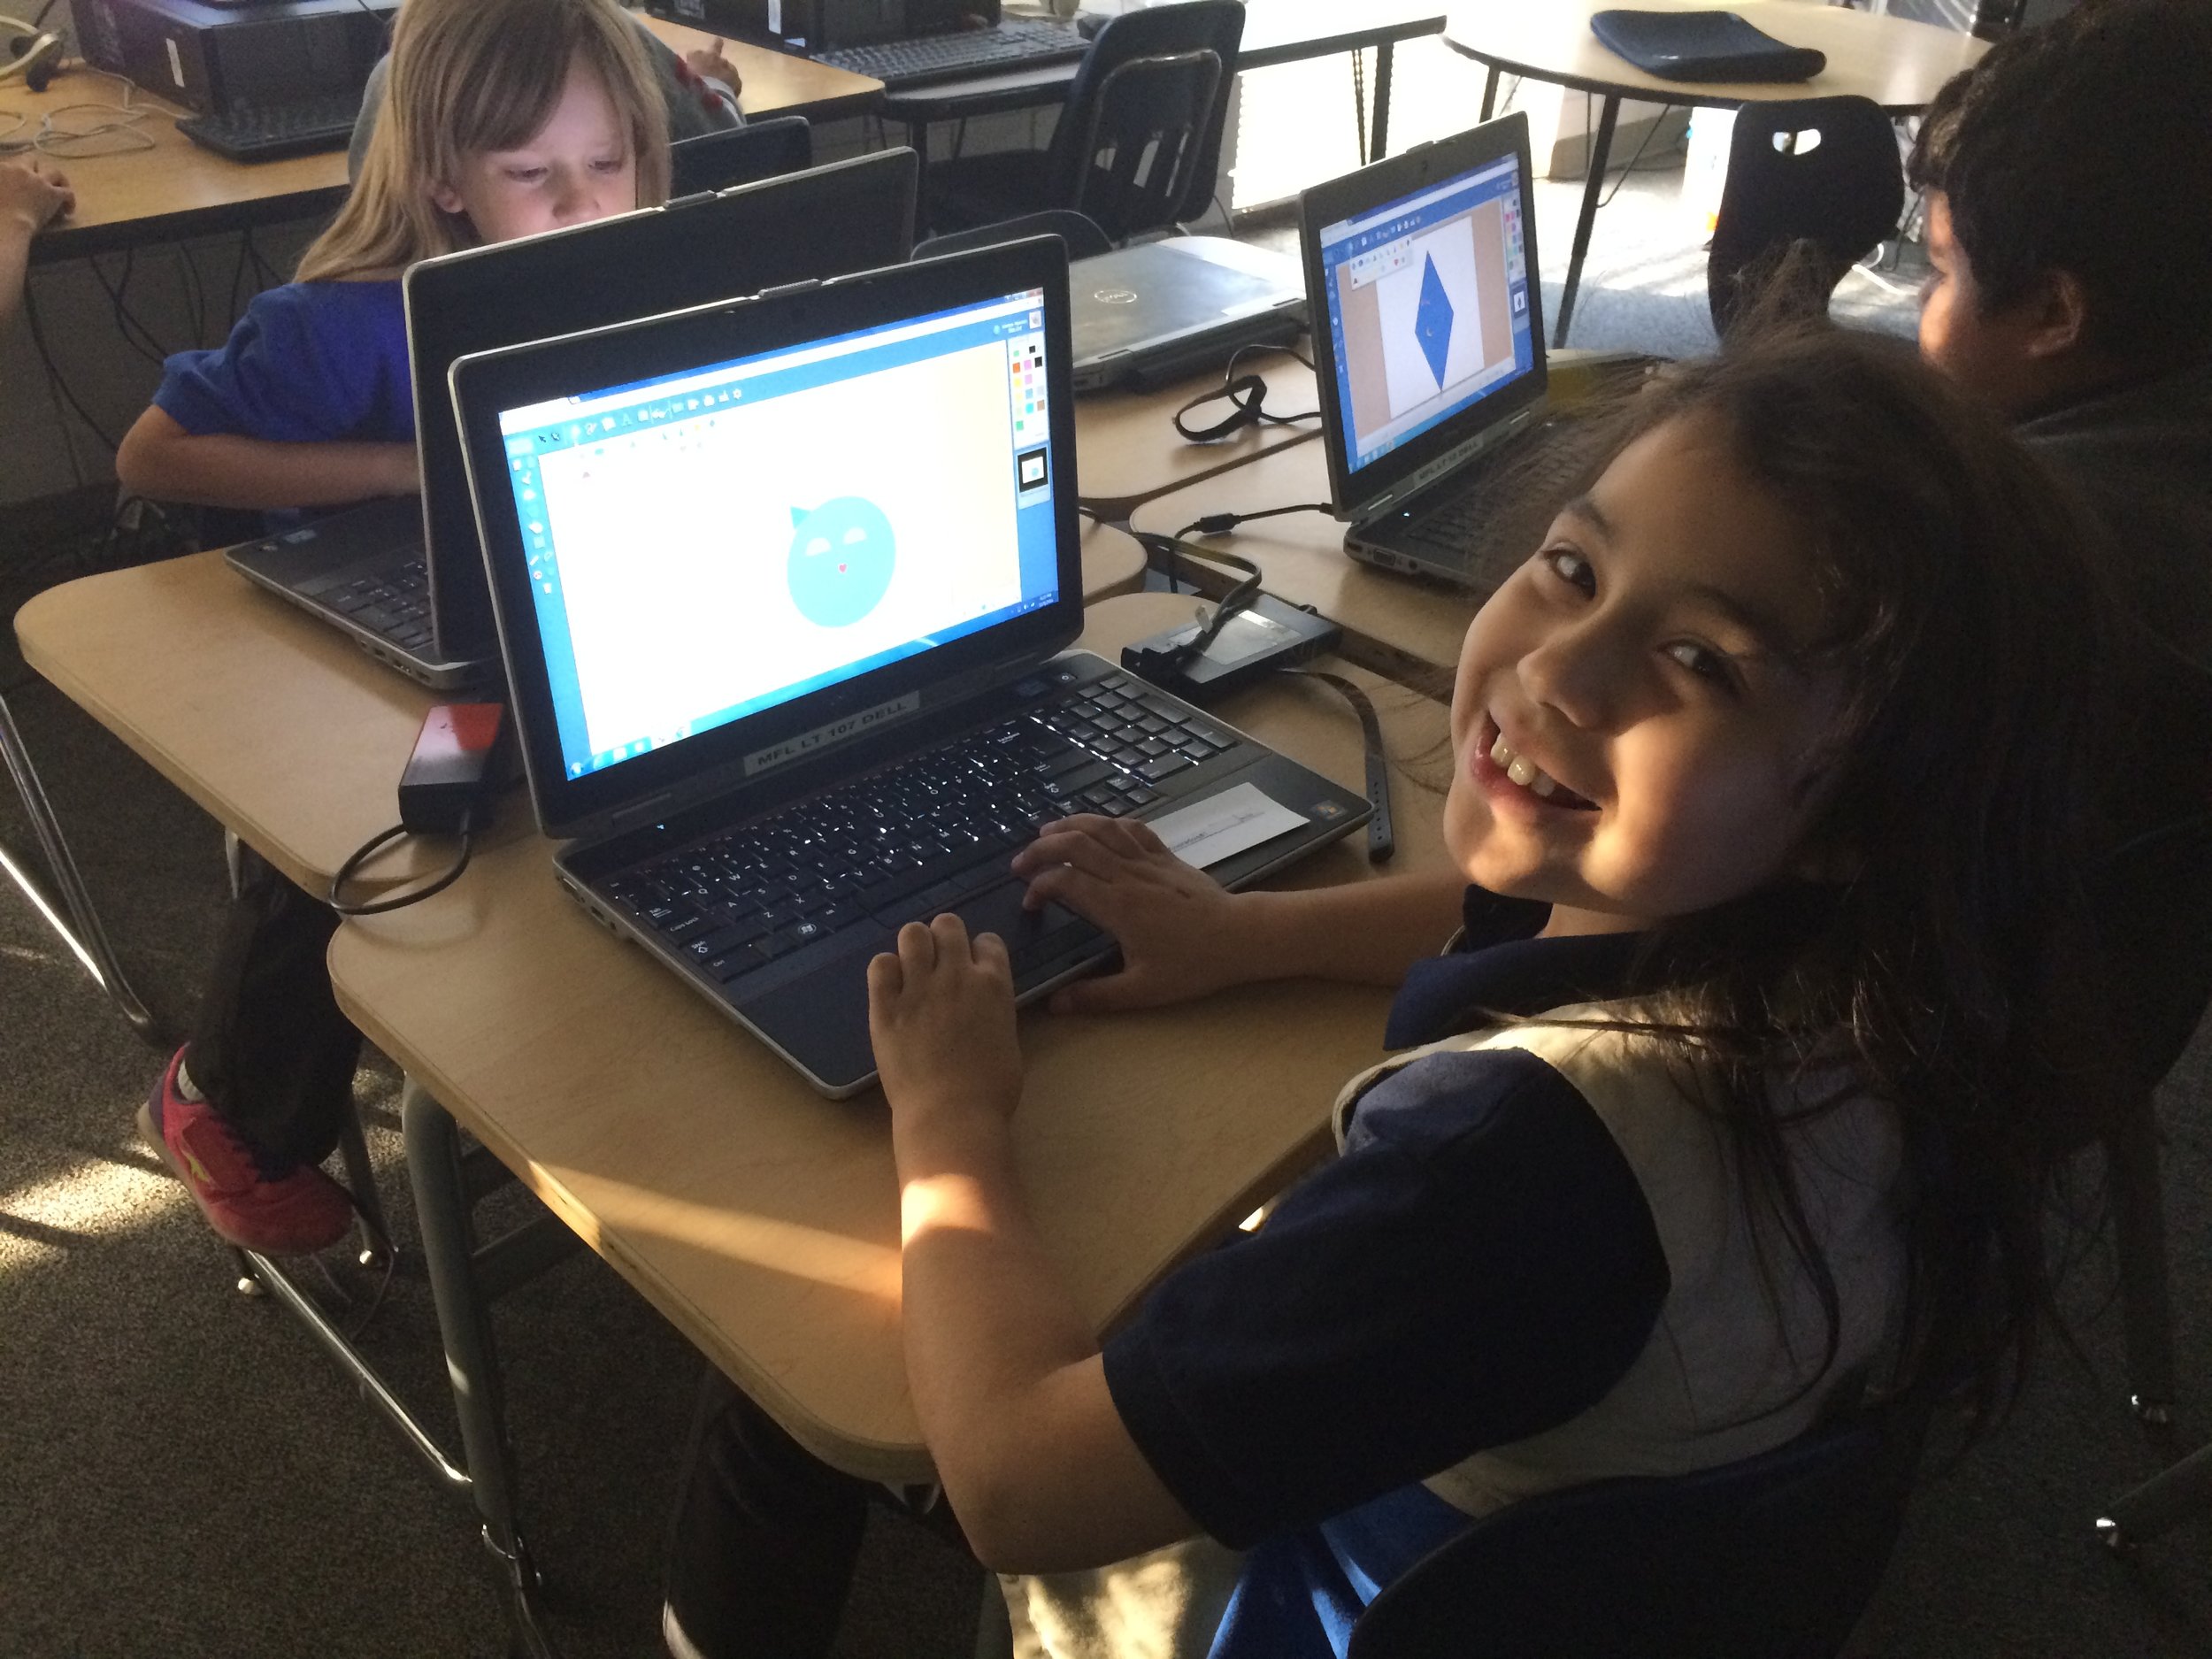
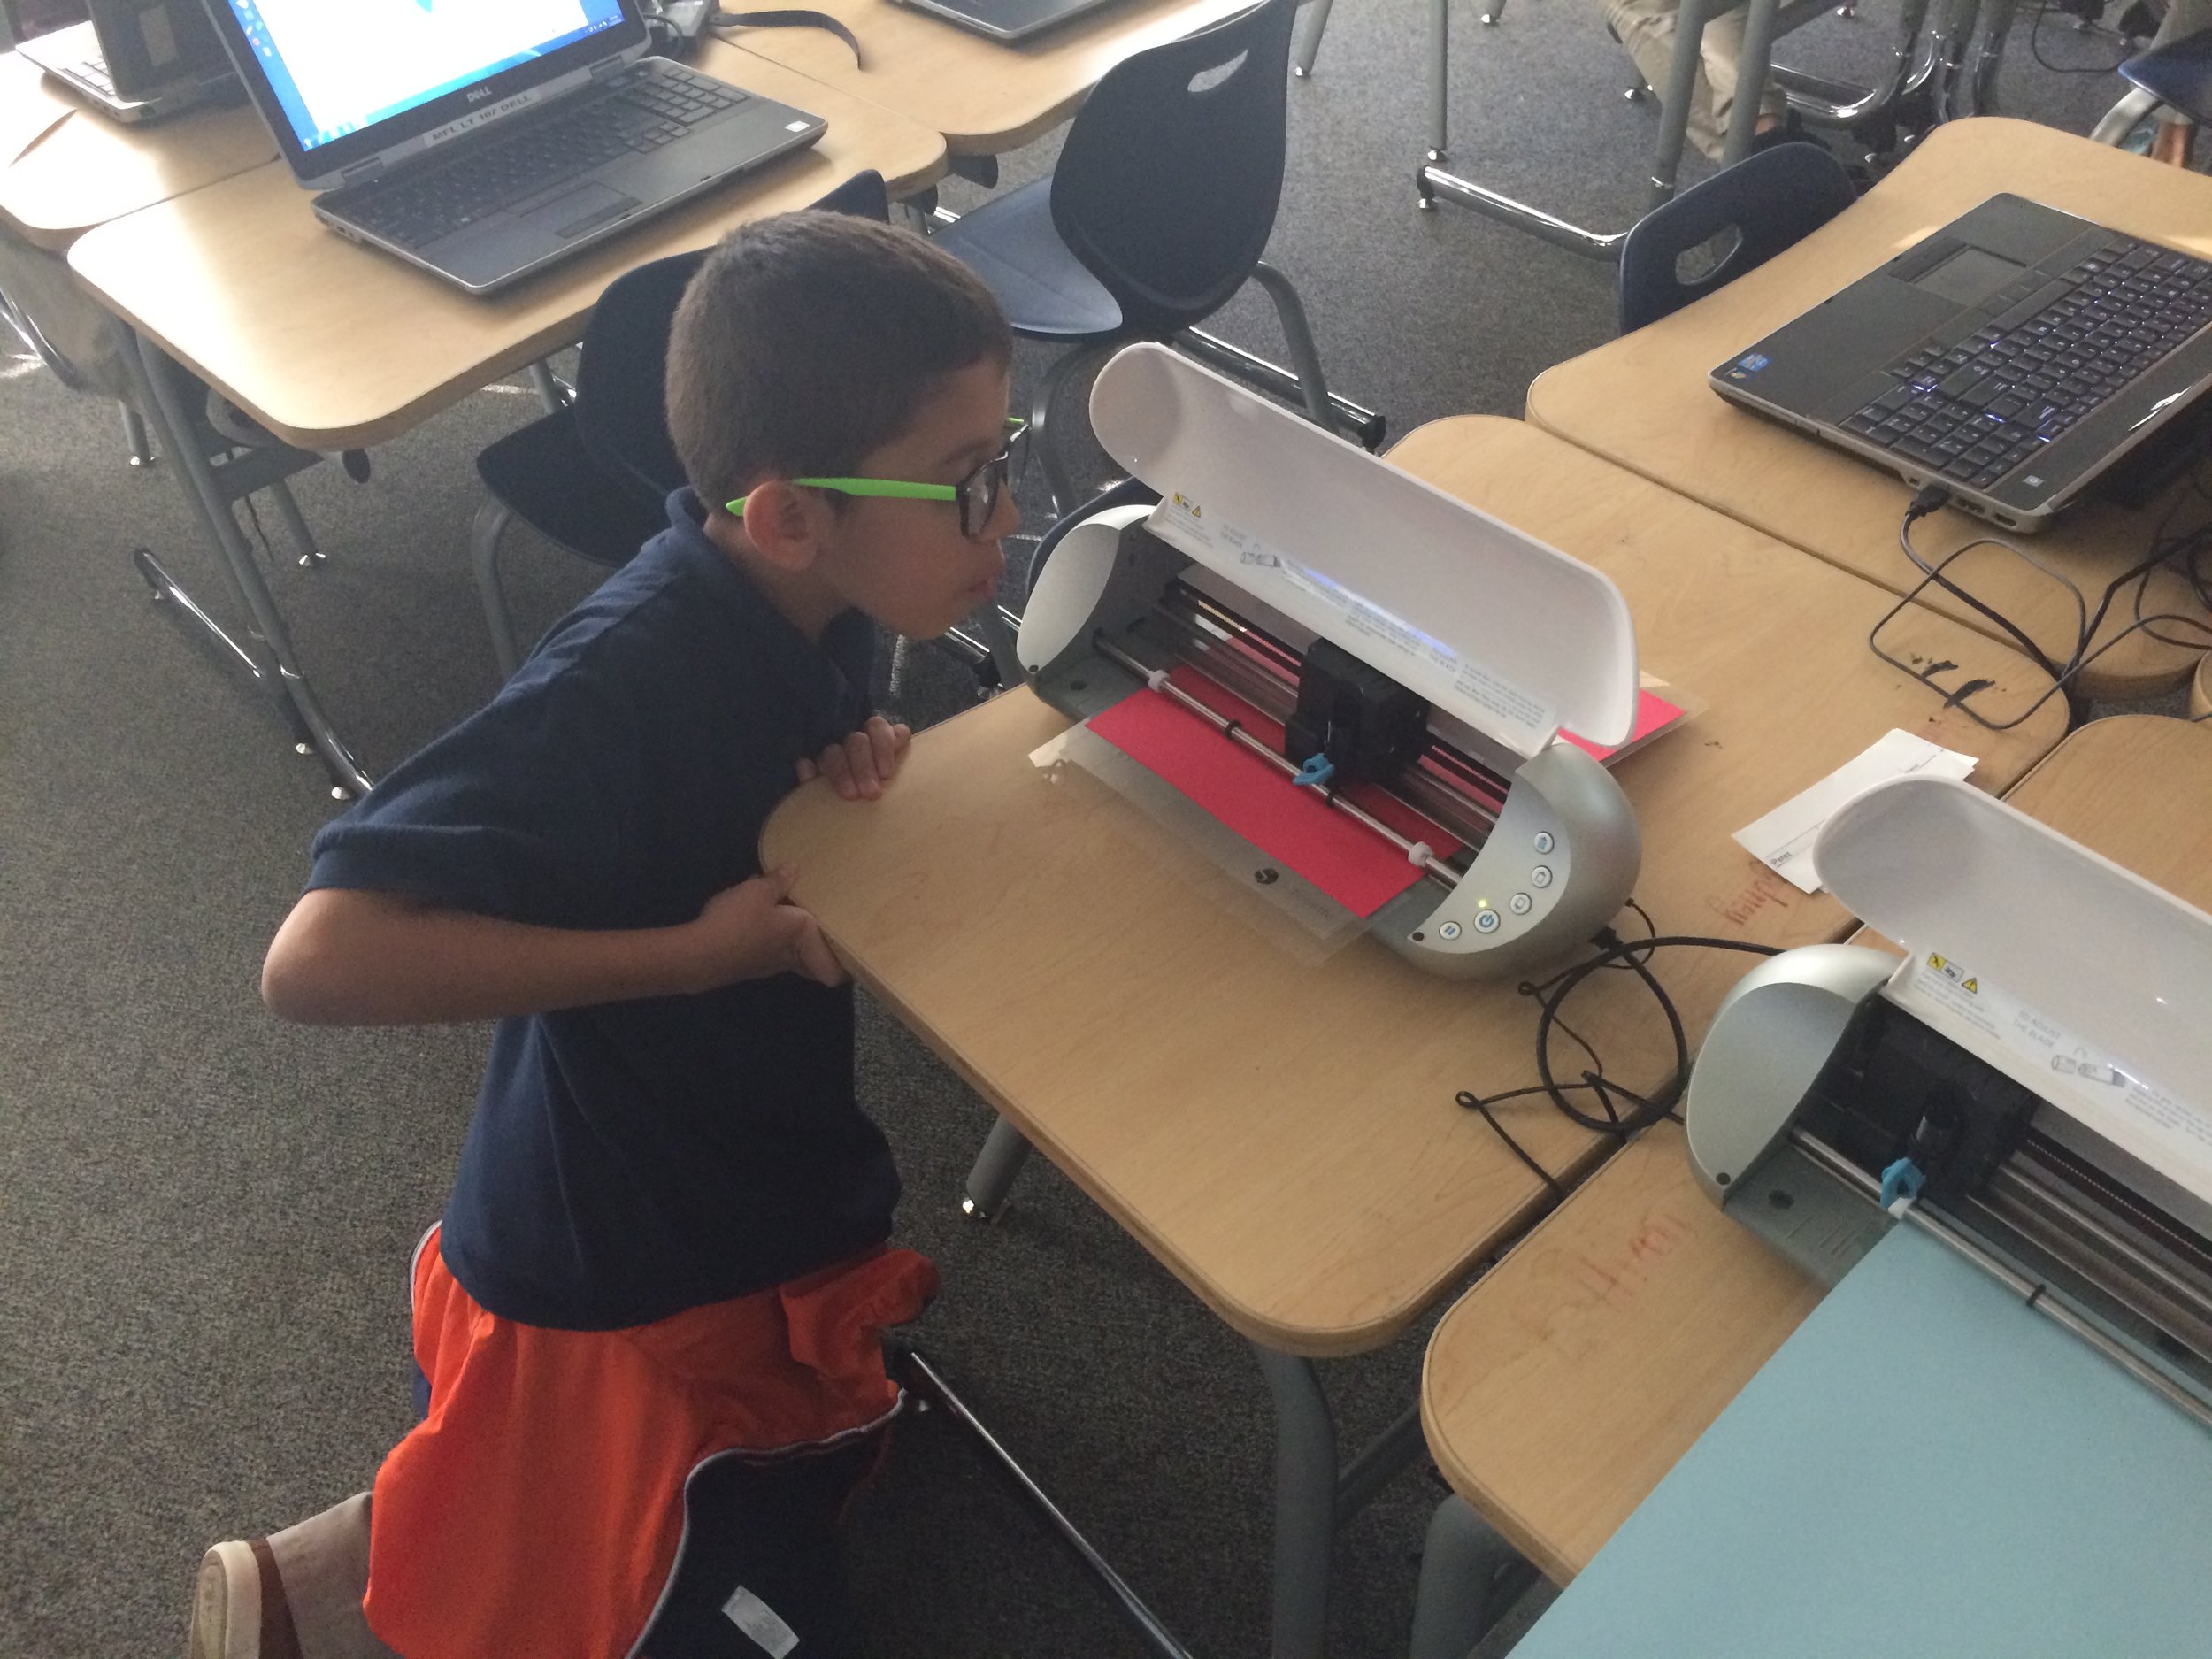
In November 2016, we spent two weeks teaching 72 young students in the afterschool program at Kendall-Whittier Elementary School. In keeping with our existing education program philosophy, the curriculum included digital fabrication using Fab@School Maker Studio and Silhouette Portrait paper cutters. We focused on teaching elements of the design process as defined in the Next Generation Science Standards, and we encouraged students to apply the skills they learned in a project-based assignment. Our objective was to evaluate both the software and cutters, as well as test the feasibility and value of introducing digital fabrication concepts and skills at an earlier age.

Each student received approximately 4 hours of instruction over multiple sessions. The 1st grade students focused on 2D design. They were introduced to the topic of design and shapes by reading and discussing the book “The Wing of a Flea” by Ed Emberley. This led to instruction on how to design basic 2D shapes and combine those shapes into more complex structures. Students used the cutters to create their physical model.
The older students began with the 2D design but quickly moved to designing 3D shapes. They were able to use the cutter to render their 3D design and then glue it when necessary. Some older students tried their hand at more advance design concepts like pop-ups, a design principle that’s tough but easier to handle when using the friendly interface of Fab@School Maker Studio.


In short, we were very happy and excited about the results of the pilot. While there is still considerable room for improvement in the lesson plans and teacher instruction, designing with the Maker Studio software was a simple and straightforward concept to learn for all three grade levels. In addition, the cutters proved faster and more efficient than was expected.
We had been concerned that students would lack the developmental milestones needed to be successful in design and fabrication. We were overjoyed when this did not show up in the trial. All students were successful in producing and cutting their 2D and 3D files and we would expect those skills to continue to improve as the students gained more experience.
Best of all, student engagement was very high and we observed a high level of student interest and growing self-confidence. We’re excited about the implications this base of knowledge will have in future grades, when we ask them to use more complex CNC equipment for larger projects.
How is your classroom using Fab@School Maker Studio? We'd love to share YOUR tips and ideas! For more FabFriday posts, click here. Try out some or all of these techniques in the Winter Design Challenge! Share your photos with us, Tweet them with the hashtag #FabMakerStudio for a chance to have them featured on the next FabFriday!

FabFriday: From Snow Forts to Bees, First Graders Design with Fab@School Maker Studio

Welcome to FabFriday, a blog series that highlights Fab@School Maker Studio in the classroom. For this week's FabFriday we meet Karen Wolff's first grade class at the Boyden School in Walpole, Ma. This post first appeared on Mrs. Wolff's blog, The Wolff Den.

What a fun week we had building a snow fort! The idea started by exploring with Fab@School Maker Studio software on our Chromebooks. We experimented with different shapes and connected them. From there, we learned how to make 3-D solids. We were going to create a snow village with our solids, but instead decided to build a snow fort! We started by creating cubes with the Fab@School Maker Studio, but found that they were too small to build with. We even tried gluing magnets in the cubes to make they stick together, but in the end decided on choosing another solid – rectangular prisms. We went back to the Chromebooks and figured out how to create them and then built our snow fort!


We also created snowflakes to use with the Bee-Bots.

Speaking of bees, we read a story about Honey Bees this week. We learned about the long “u” sound and the two sounds “y” can make at the end of a word. For example, in the word “sunny,” the “y” sound like an “e," but in the word, “fly,” the “y” sounds like an “i.” We also talked about the life cycle of honey bees. We diagramed the bee life cycle using Kid Pix and learned about the anatomy of a bee by creating them with the Fab@School Maker Studio.


In math, we are working with fact families. We learned that all fact families have three numbers. We can make two addition sentences and two subtraction sentences with the same three numbers.
In social studies we’ve been learning about oceans and continents. We know there are different kinds of land, like plains and mountains and different types of water, like rivers and lakes. We also talked about natural resources like water and wood.
How is your classroom using Fab@School Maker Studio? We'd love to share YOUR tips and ideas! For more FabFriday posts, click here. Send your photos to info@FableVisionLearning.com for a chance to have them featured on the next FabFriday!

FabClassroom: Young engineers at CU Science Discovery light up the holidays with Fab@School Maker Studio

At FableVision Learning we are so excited to hear how our creative classroom tools are being used. Stacey Forsyth, Ph.D., Director, CU Science Discovery, recently shared a bit about some young engineers who used Fab@School Maker Studio to design pop-up cards.
Over the holiday break, some creative young designers spent two days at CU Science Discovery in Boulder, Colorado, designing electrifying holiday cards.
First, the students used FableVision Learning’s Fab@School Maker Studio to design cards that could be cut and folded in specific ways.


Then by sending the designs to a Silhouette Cameo, a digital craft cutter, they were able to cut and perforate their designs.
After a few introductory activities to explore the basics of circuits, designers used copper tape and LEDs to light up their cards! For some tips on creating paper circuits, check out this tutorial from our friends at Spark Fun!


After designing, cutting, folding, and lighting the lights, students had a chance to add on any final touches using an assortment of colorful craft materials.


Their finished products were simply illuminating!


How are your student’s using Fab@School Maker Studio? We would love to hear from you. Send an email to the team at info@fablevisionlearning.com.

Problem Solving with Fab@School Maker Studio: The Heart of Pop-ups

The following blog post is by Peggy Healy Stearns, Lead Software Designer, Fab@School Maker Studio at Reynolds Center for Teaching, Learning, and Creativity.
I’m a huge fan of pop-ups – pop-up books, pop-up cards, pop-up displays. I love the way pop-ups combine math and engineering and literature and creativity. So, when we designed Fab@School Maker Studio, I wanted to give kids tools that let them easily design their own imaginative pop-ups. That’s why, in Maker Studio, we created ready made pop-up elements that kids can resize, combine, and color to create an endless variety of imaginative constructions.


Maker Studio’s 3D view lets kids view, open and close, and rotate their constructions so they can refine their designs before they fabricate with scissors or an electronic cutter.


Creating a simple pop-up like the heart above provides a motivating and memorable way for students to integrate problem solving and math skills. For example, in creating this heart pop-up, students consider:
Measurement: How big can the pop-up be without protruding beyond the edge when the card is folded? Can you figure out a rule?
Symmetry vs. asymmetry: Does it matter if the design is symmetrical? Why or why not? Choose a design and tell whether it’s symmetrical or asymmetrical, then predict whether the design will work as a centerfold pop-up. Experiment to see if you’re right.
Parallel Lines and Angles: This pop-up is attached at both sides. Do the side fold lines need to be parallel to each other? Do they need to be parallel to the centerfold? How will the pop-up fold if the lines are not parallel? Play around and see what you discover!
As students think through and construct even a simple pop-up, they apply math, engineering, and problem solving skills. Pop-ups are also a great way to integrate these skills across the curriculum as students respond to literature, write creatively, or plan projects in science, social studies, and other subjects. Many pop-up projects can be fabricated by hand, making it easy for teachers to use these activities with their students.
If you want, integrate simple circuitry using copper conductive tape, a coin cell battery, and LED lights as shown in the birthday card pop-up above.
These pop-ups and hundreds more were created with Fab@School Maker Studio, the new web-based app designed to encourage STEAM learning across the curriculum. To learn more, go to Fab@School Maker Studio. The heart pop-up and others are included as Ready-Made projects in the software.
We would love to see what pop-ups you create in Fab@School Maker Studio. Share your designs with Andrea Calvin at andrea@fablevisionlearning.com, and you could be featured on our blog!